Here I go again!
Some people choose not to mod this shoe at all, that works for them but I would rather dip my face in bubbling acid than waste my time shredding in an unmodded shoe that has so much potential.
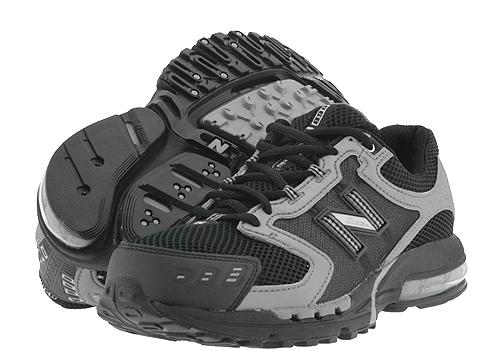
Here is how the shoe looked when I started:
(Laaaame!)
I started out by doing a nice healthy Broka mod:
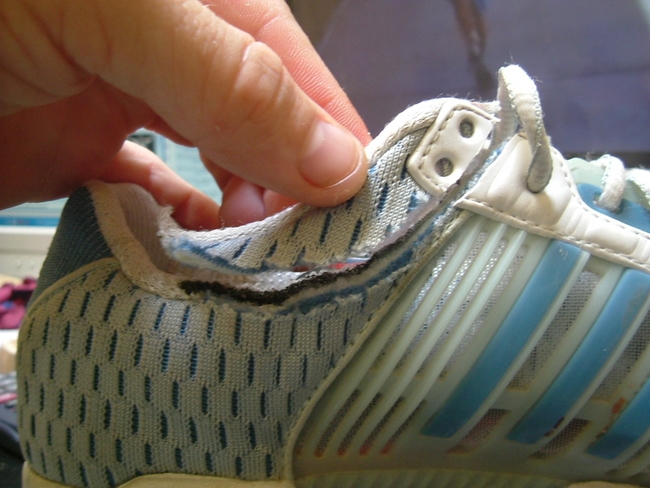
And then I stitched it back together for clean edges:

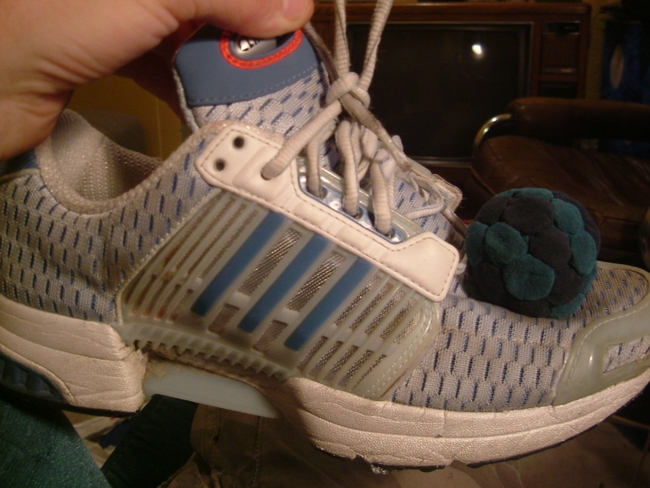
The next thing I did was to make the toe area go from suck to incredible by doing the following:
You have to cut out the center lace loop. I don't have a picture of my shoe with this piece still there, but if you have a clima to look at, it is the one thing that is stitched to the toe mesh.
That opens up the toe area significantly.
The choice one makes regarding how to deal with the inside area ranges greatly among climacool users. Many of the top clima shredders choose to do nothing at all with the plastic fins (Mikko, Matt Cross, Andrew Grant) but there are a few options for the more adventurous!
I have had success in the past with using a dremel (rotary grinding tool) to grind down the fins to just very thin strips of rubber. They provide feel and grip.
On my latest pair I did what I had dreamt of doing all along. It took me over an hour of grunting and expending energy but I managed to pull all the fins right off the clear mesh that they are attatched to. I used a pair of pliers and LOTS of effort, but it worked. You have to slit the stripe with a sharp knife at the top, being VERY careful not to cut through the clear mesh!!! Then you grab the stripe with a pair of pliers and pull and it should come off in one smooth pull, the stripe will actually pull right off the mesh cleanly.
I do not recomend this mod to anyone that wants to avoid hard work to get what they want.
A warning to anyone crazy enough to actually try the stripe-pull-off mod, the front-most stripe on a climacool 1 is stitched down, you will have to try to cut them from above so that when you are ripping off the stripe the stitches don't tear the mesh. I tore mine a little, but that is okay, I have had holes in the mesh in all of my previous pairs of climas and they don't run, don't worry.
Here is how effing choice my inside area came out:
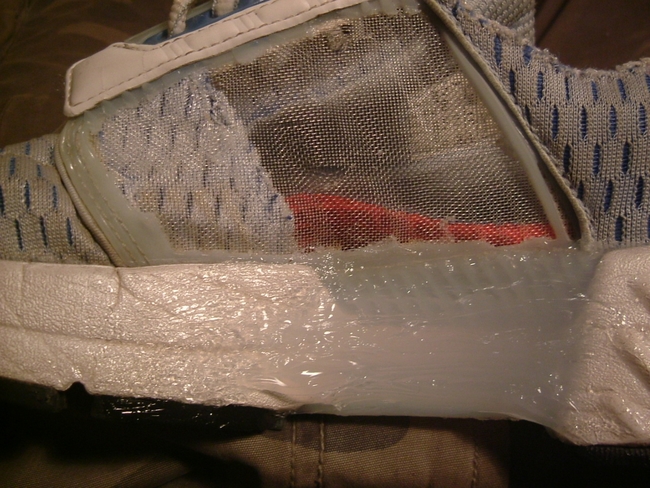
To fill in the gap in the arch I used clear silicone caulking. I just squeezed it out into the cup and then using smooth strokes with my finger I shaped it into the insert I desired.
The last thing I did was to change the lacing of the shoe.
There are several lacing options, however a new one is currently being pioneered by Matt Cross and I.
Check it out, mega toe:

It's pretty hard to argue with THAT toe area isn't it?
Also, it is CLEARLY a much more significant landing area than on my laver!
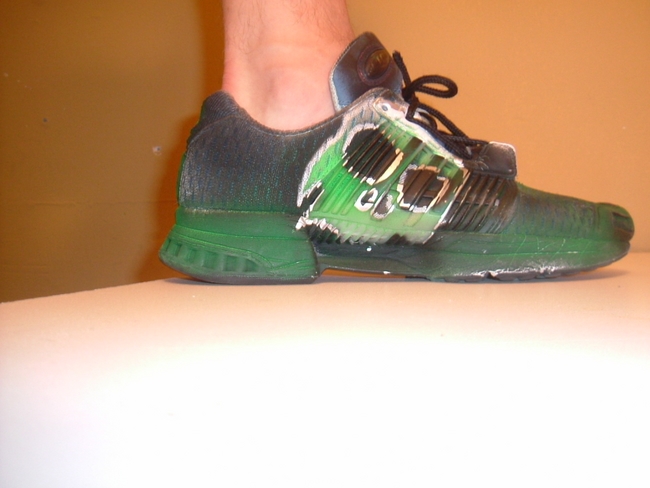
I painted my shoes once all the mods were done and here you have my fully modified Adidas Climacool Original:
Oh, and for comparison I took a shot of the curve of the inside arch of the clima vs a laver:
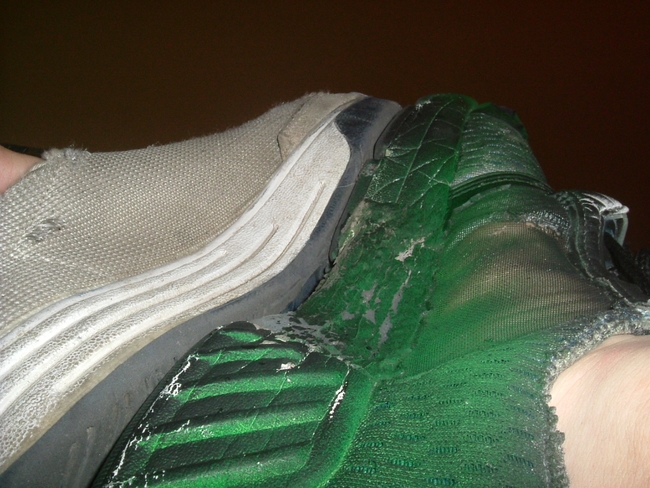
The curve is actually identical, thus the transition between shoes is rather seamless.
I hope this modification tutorial helps bring clarity to this topic.
**Note** If this has inspired anyone to go out and buy a pair of climacools I must warn you in advance. You want to aim to have the shoe fit SNUGLY!!! if it is too big then you will HATE the toe area and be mad at me for "misleading" you, when really it would be your fault for not reading this disclaimer that explains what to do.
If you wear (for example) a size 9 laver, get size 8 climacools. Okay? deal.
Also, the "correct" climacools to get are these and only these models:
- Climacool 1 aka Climacool Original
- Climacool Euro
Those two are the shoe that is played in by all of the prominent climacool shredders with the exception of Jason Crook who plays in Climacool 3's, which I have not yet tried.
I have looked at pictures of the 3 and from what I can see they have lots of potential however one would have to try them to find out.